Published
- 7 min read
How to Install Arch Linux with Archinstall in 2026 (Quick Guide)
Archinstall Quick Guide
If you’re really interested in getting an Arch system but don’t have time for a manual installation, this guide is for you. Archinstall is an official Arch Linux tool that lets you install the operating system semi-automatically, guiding you through an interactive process. Here’s a quick guide to installing Arch Linux with Archinstall in 2026.
This guide includes the script for a video created by @barrazadev, which can be found at the following link: Link.
ISO and Boot
First, we need to download the Arch ISO and use our USB drive with Rufus or Ventoy. Don’t worry—there’s a link in the description below explaining how to do the latter. Rufus Video Tutorial and Ventoy Video Tutorial. Once you have your bootable USB drive, you need to boot from it. To do this, depending on your computer, press a key such as F12, F2, or Del to access the boot menu and select your USB drive.
Once you’ve booted the Arch Linux ISO on your Virtual Machine or Physical Hardware, a small interface with various options will appear; select the first one (Arch Linux Install Medium), To continue, we need to verify that we have an Internet connection. We’ll run the “ping” command to the IP address “1.1.1.1” as follows: “ping 1.1.1.1”. If you only have Wi-Fi to connect to the Internet, don’t worry— here’s a video explaining how to connect to Wi-Fi networks using the Terminal How to connect to Wi-Fi via the terminal. Once you’re ready, simply type the command: “archinstall”.
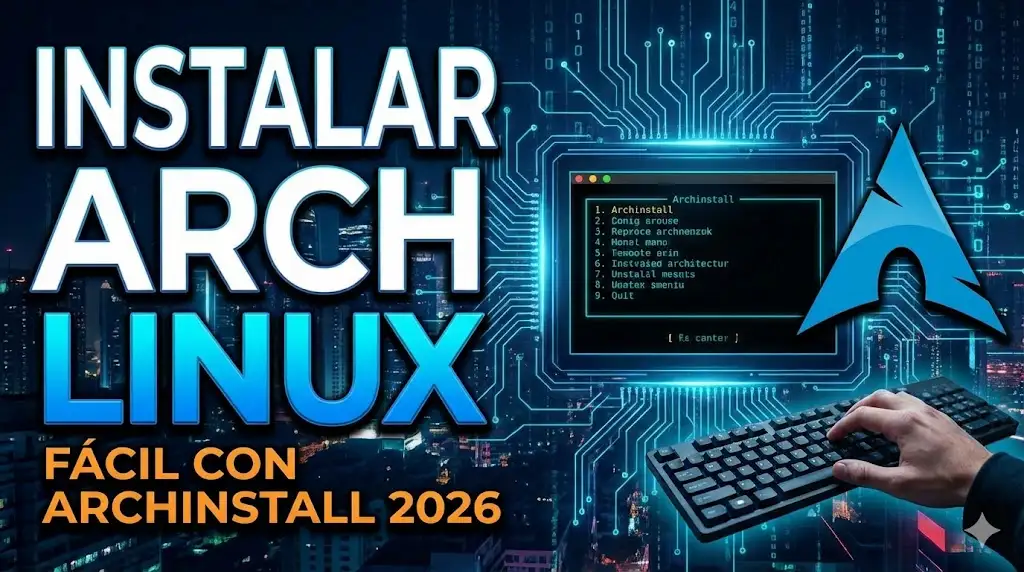
Archinstall
Next, we’ll look at the ArchInstall menu with its various options. To navigate through them, use the up and down arrows; to select an option, press the Enter key; and to go back, press the Escape key.
I’ll go over each of the options available in the Archinstall menu.
Installation Guide
Language
Here you can select the installer’s language. If you like, you can choose your native language—in my case, Spanish—but for the purposes of this guide, I’ll keep the language set to English by pressing the Enter key.
Locales
Here, you need to select the keyboard layout; in your case, you can choose ES for Spanish or US for English. Under “Local Language,” select the one that corresponds to your country, such as es_CL.UTF-8 or en_US.UTF-8. It’s important that it be UTF-8. Leave the last option as the default and click “Back.”
Mirrors
In this section, I recommend selecting your country or the one closest to you. This is to ensure that package downloads are as fast as possible. When selecting the country, press the “Space” key and then return.
Disk Configuration
In this menu, select the option labeled “Partitioning,” and choose the first option again—the one that says “Use a default partition layout.” You must be very careful with this step, all the disks on your machine will appear here; you must select the disk where you want to install Arch. Keep in mind that this will completely format that disk, erasing any files or data on it. Always make sure to back up your files before performing any installations. If you’re sure about the disk, select it using the “Space” key and press “Enter” to continue. We’ll select “EXT4” as our filesystem. If you see an option that says: “Would you like to create a separate partition for /home?”, I recommend selecting “Yes.” This will be helpful if you decide to do distrohopping frequently.
We won’t be touching the LVM and encryption options today; they’re basically for encrypting the disk, but they aren’t necessary for your first installation.
Swap
The Swap option is enabled by default, and we’ll leave it that way, since swap space is a portion of storage used as virtual memory when RAM runs out. Although it isn’t as fast as RAM, it can help prevent the system from crashing when it runs out of memory.
Bootloader
In the bootloader, we’ll also leave it as is, selecting the Grub option. This is because it’s the most common bootloader and is compatible with most systems, unless you have a specific reason to choose another one, such as if you want to use systemd-boot or rEFInd.
Kernels
Under the “Kernels” option, only one Linux kernel is included by default. To ensure greater security against potential failures, we will also add the Linux-LTS kernel. The LTS (Long-Term Support) kernel is a version of the kernel that receives long-term support, meaning it receives security patches and bug fixes over an extended period, typically several years. The LTS kernel tends to be more stable and reliable.
Hostname
In the “Hostname” field, you can enter the machine’s name. You should only change this if you wish to do so; it is not necessary for the system to function, but it is good practice to identify your machine on the network.
Authentication
In the Authentication section, the first step is to create a password for the Root user. This password is important, so make sure you don’t forget it. Confirm the password, then go to User Account and add a user by clicking Add a User. Enter a name and password, confirm the password, and when asked if you want to make this user a superuser, click Yes. Finally, click Confirm and Exit to return to the menu.
Profile
In the “Profile” option, you need to select the type of profile you want; there are four in total (Desktop, Server, Minimal, and Xorg). We’ll focus on the first option, called Desktop. Now you’ll see the different desktop environments. You can select more than one, but I recommend playing it safe and choosing just one—it could be KDE, XFCE, or Cinnamon. In my case, I’ll select XFCE. Once you’ve selected the ones you want, press “Enter.”
When it comes to graphics drivers, it depends on each person and their settings; in my case, I’ll leave it set to “All open-source.”
In the login manager (or Greeter), select the default option and click Back.
Applications
Under “Applications,” select ‘Bluetooth’ and “Audio.” For Bluetooth, select “Yes,” and for Audio, I recommend Pipewire.
Network Configuration
In the network settings, select the option labeled Use Network Manager (default backend).
Additional Packages
In the “Additional Packages” section, this isn’t necessary, since we can install any missing programs later.
Timezone
Here we need to select our time zone; in my case, America/Santiago.
NTP
We leave the NTP option enabled, as it is by default.
Pasos Finales
And that’s it! Here we have an Arch Linux system ready to be installed, with video drivers and a graphical environment set up in no time.
As a final step, click Install. You’ll be asked if you want to apply the settings; click Yes, and the installation will finally begin. This may take a while depending on your computer and internet connection. Once the installation is complete, you’ll see three options. Select the first one, which says Exit Archinstall, and enter the command “shutdown now” to shut down the computer immediately. Once the computer is off, remove the USB drive and turn the computer back on.
Post Install
When you log in, you’ll see a login screen; enter the user’s password, and you’ll be able to see the desktop.
To check your internet connection, simply open a terminal and type the same command as before, “ping 1.1.1.1”, and you’ll see that you have an internet connection.
We’ll also check for any pending updates by entering the command “sudo pacman -Syu”. When we do this, it will ask for the root password; we’ll type it in and press “Enter.” Since there are no pending updates, I’ll install a small script to view the machine’s components. To install it, I’ll type “sudo pacman -S fastfetch” in the terminal; it will ask for confirmation and begin installing. Once the package is installed, I’ll run it from the console by typing “fastfetch”, and it will display my system’s components.
Conclusion
As you saw in both the video and this guide, installing Arch Linux with Archinstall is a fairly simple and quick process, ideal for those who want to enjoy the benefits of Arch without the hassle of a manual installation. Archinstall offers a guided experience that simplifies the process, allowing you to set up your system efficiently and customize it to your liking. If you’re new to the world of Arch Linux or simply want a quick installation, Archinstall is an excellent option to start your adventure with this powerful distribution.
If you found this guide helpful, don’t forget to share it. If you have any ideas or questions for future videos or guides, we’d love to hear from you.